This post is sponsored by Nordicware UK
It is no secret that I am a big fan of Bundt® cakes (I’ve written enough recipes for them for that to be pretty obvious) so I’m thrilled to be posting a very special anniversary recipe today in collaboration with Nordicware, the creators of the Bundt® pan. This year, the Minneapolis based bakeware manufacturer turns 75 years old, and to celebrate they have released a new 75th Anniversary Braided Bundt® Pan and they tasked me with coming up with something special to bake in it.
The recipe is inspired by that classic ice cream, the Neapolitan, a mix of chocolate, vanilla and raspberry. The cake is based around the classic pound cake, it’s dense but moist and needs no fancy adornment, although I’ll never object to a ganache or buttercream, the cake itself is good enough on its own. For the chocolate mixture I use a deep dark black cocoa which gives a great colour and flavour. For the vanilla flavour I also add a little white chocolate which makes a wonderful tender cake. The final section is made with freeze dried raspberry powder for a pop of colour and a great raspberry flavour.
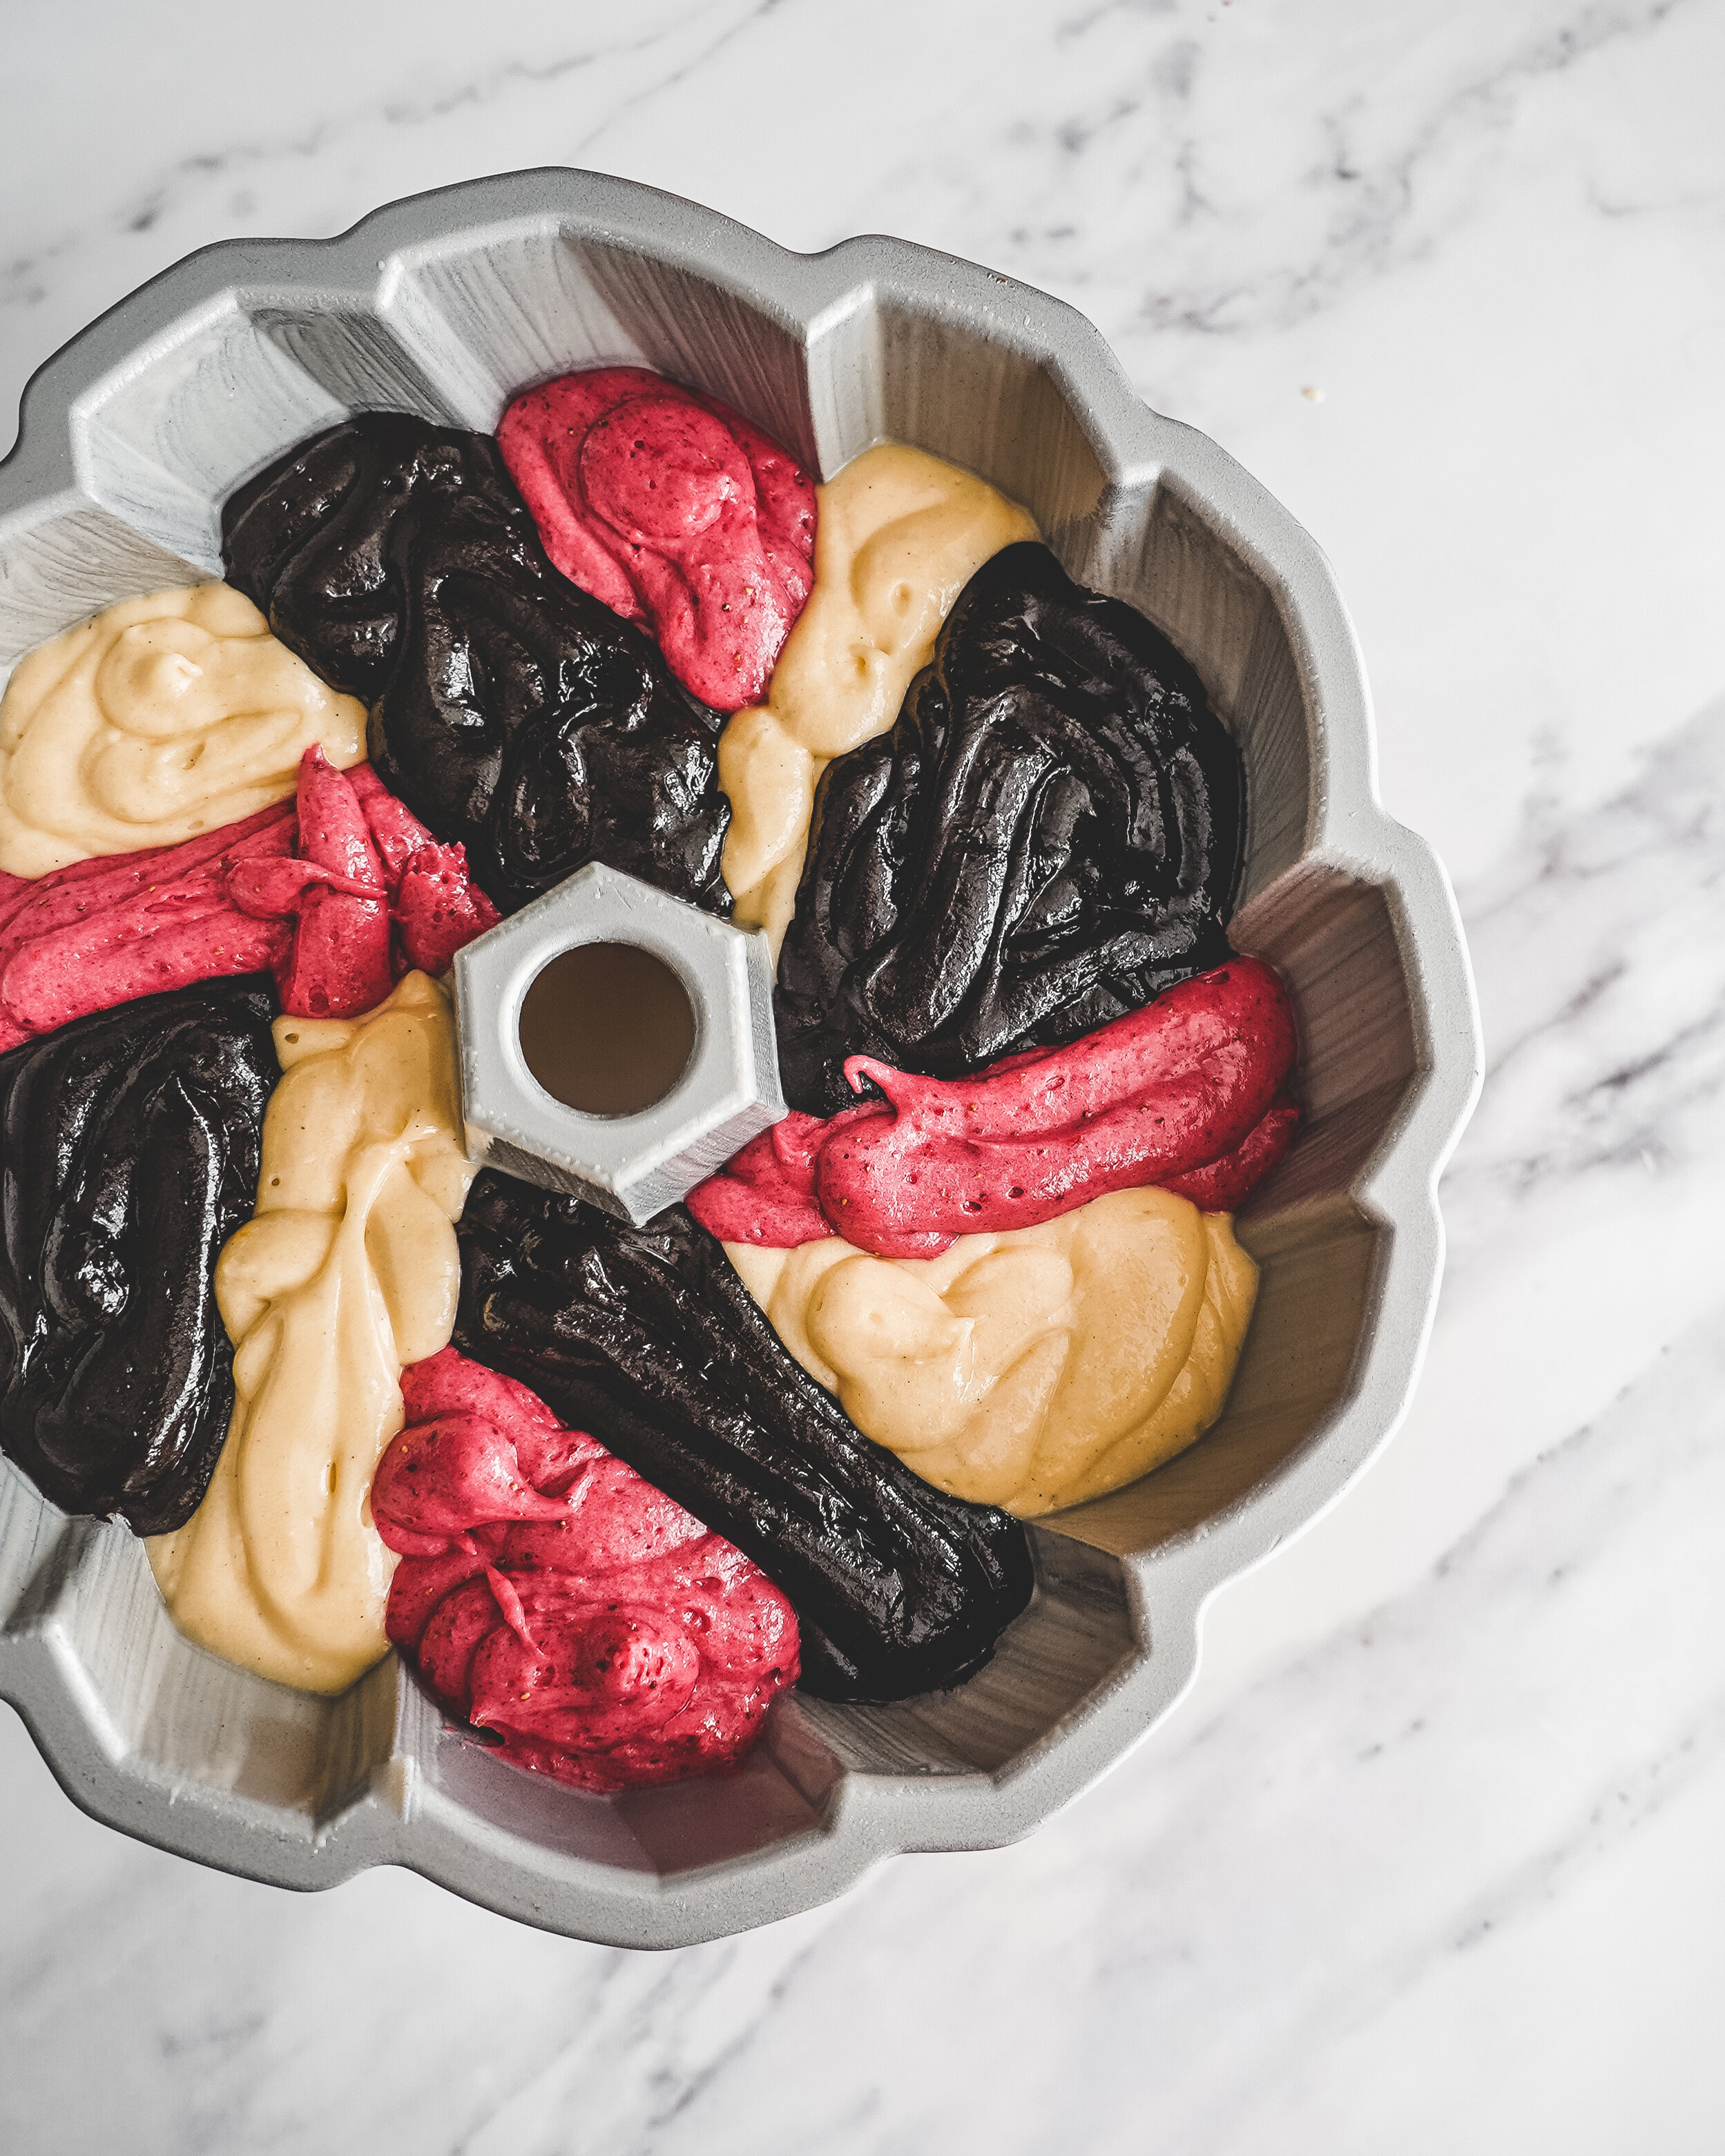
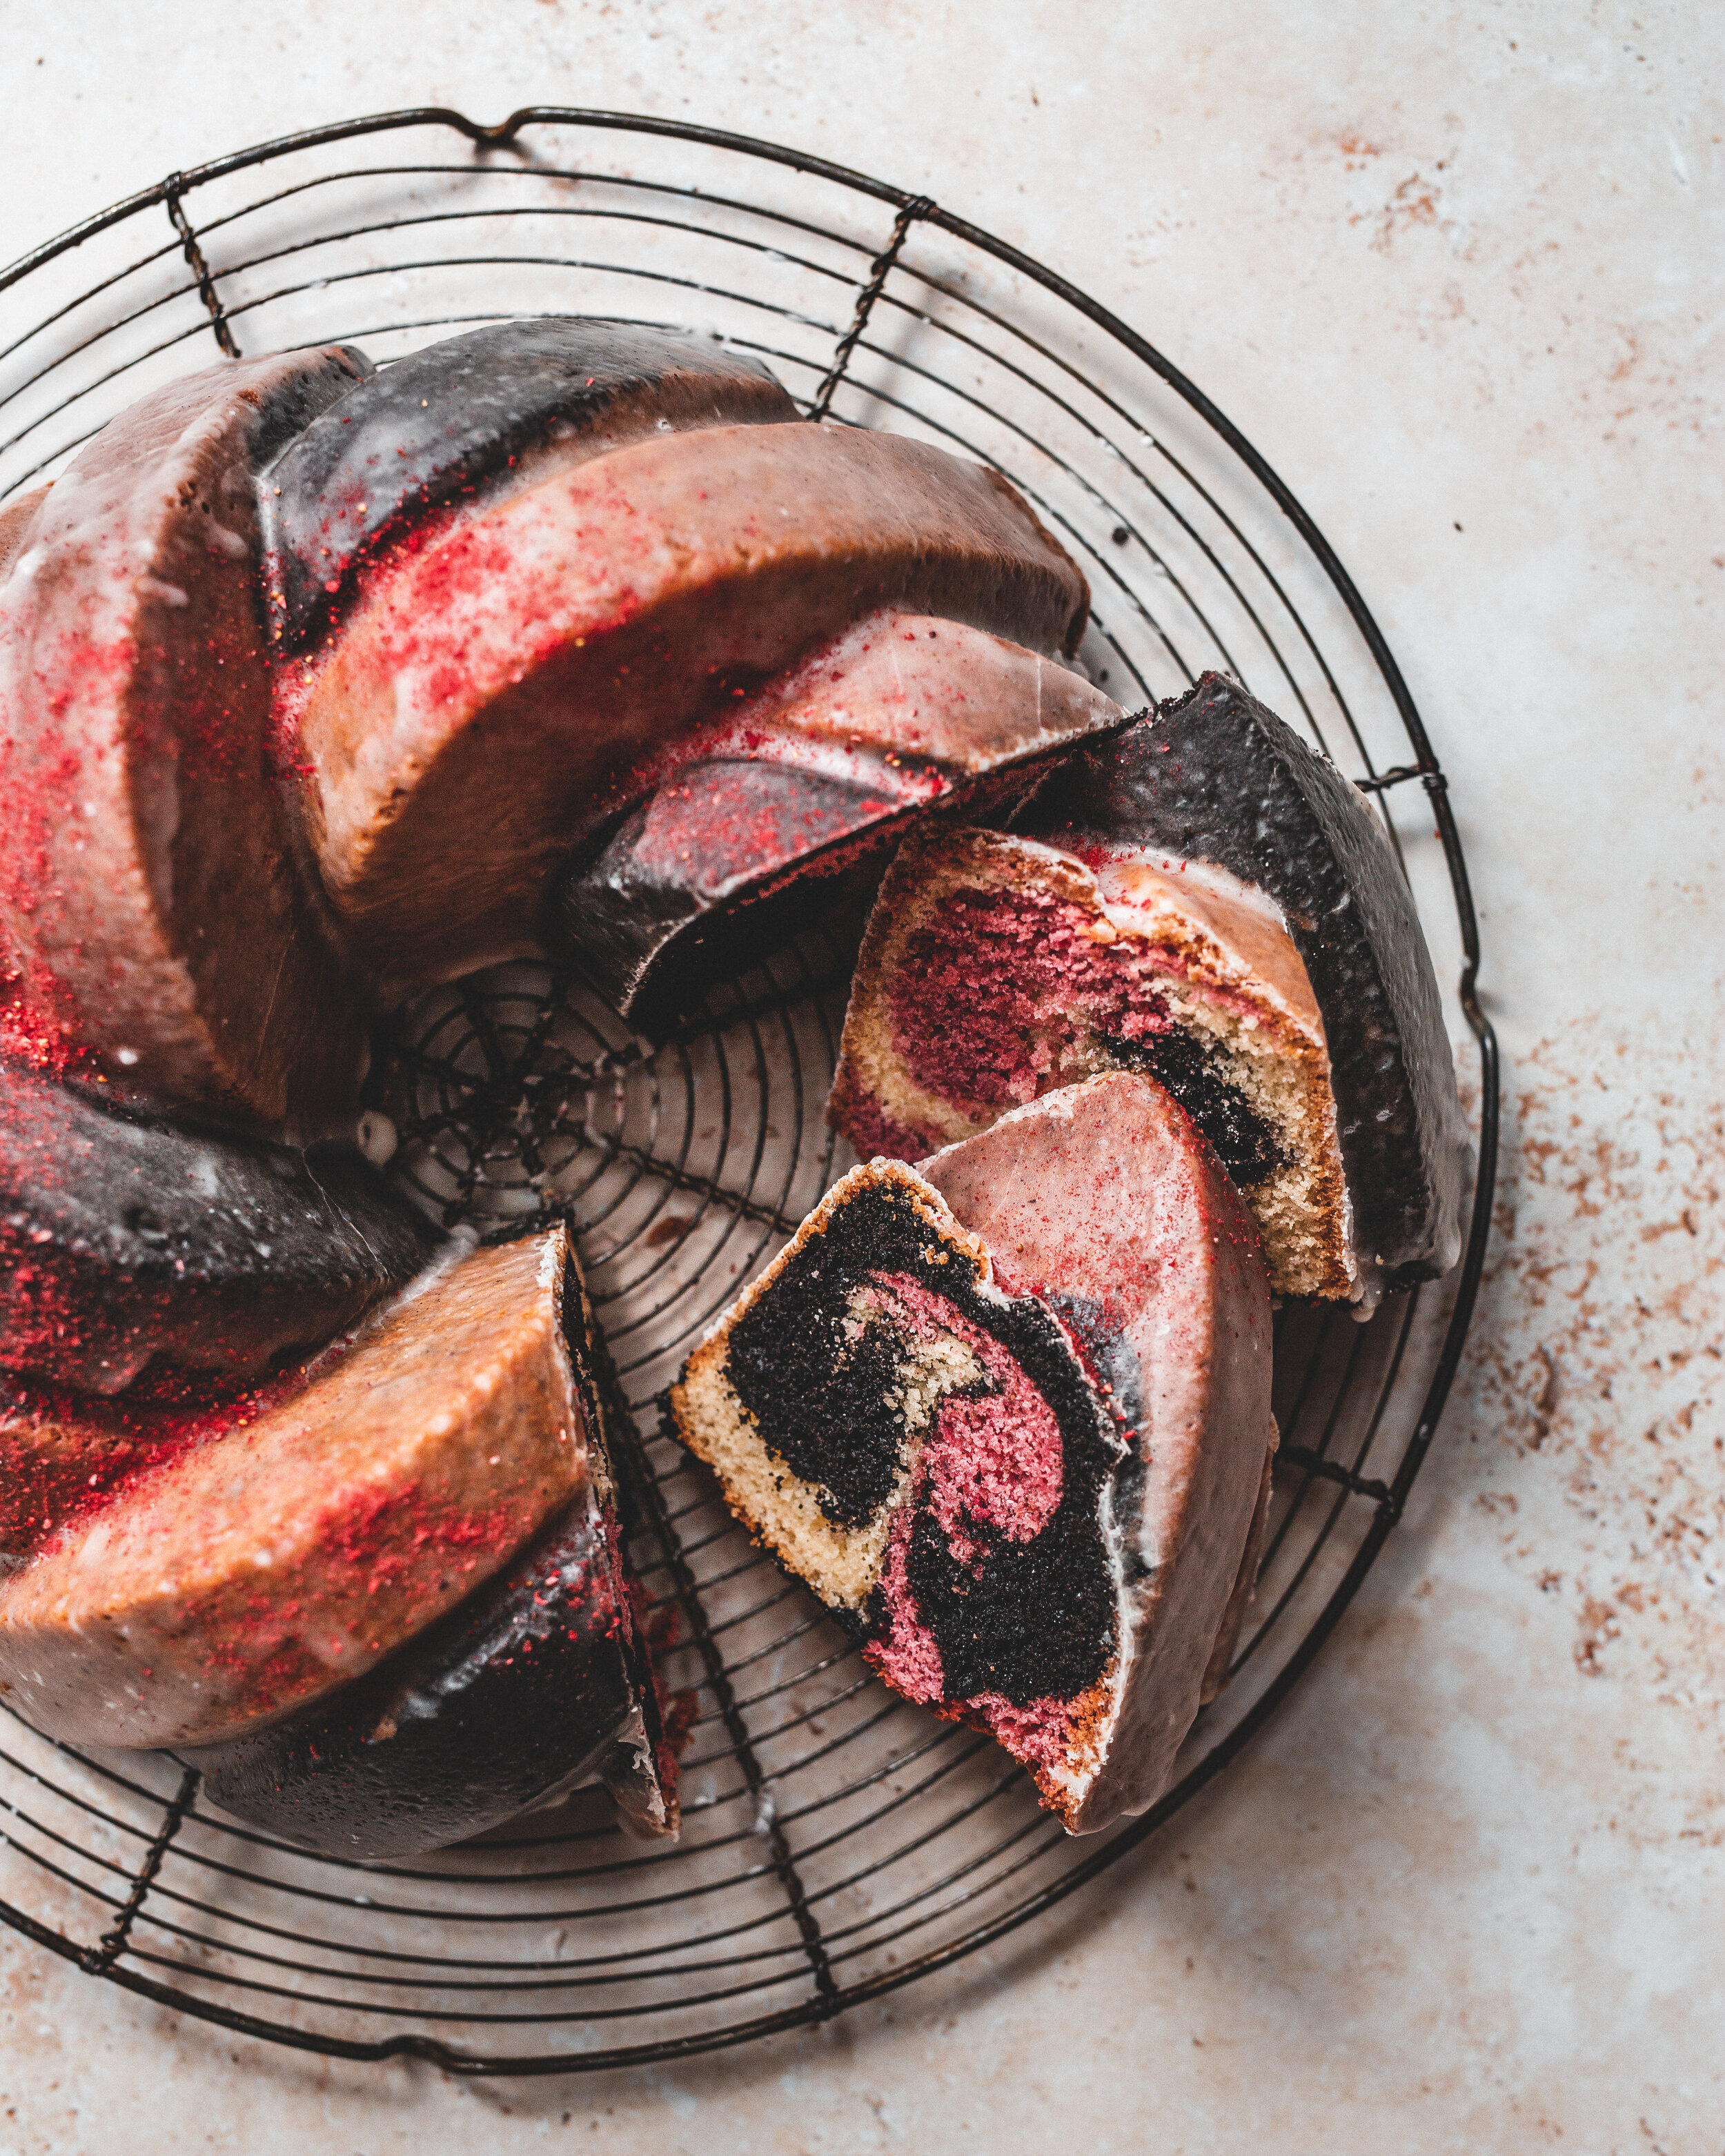
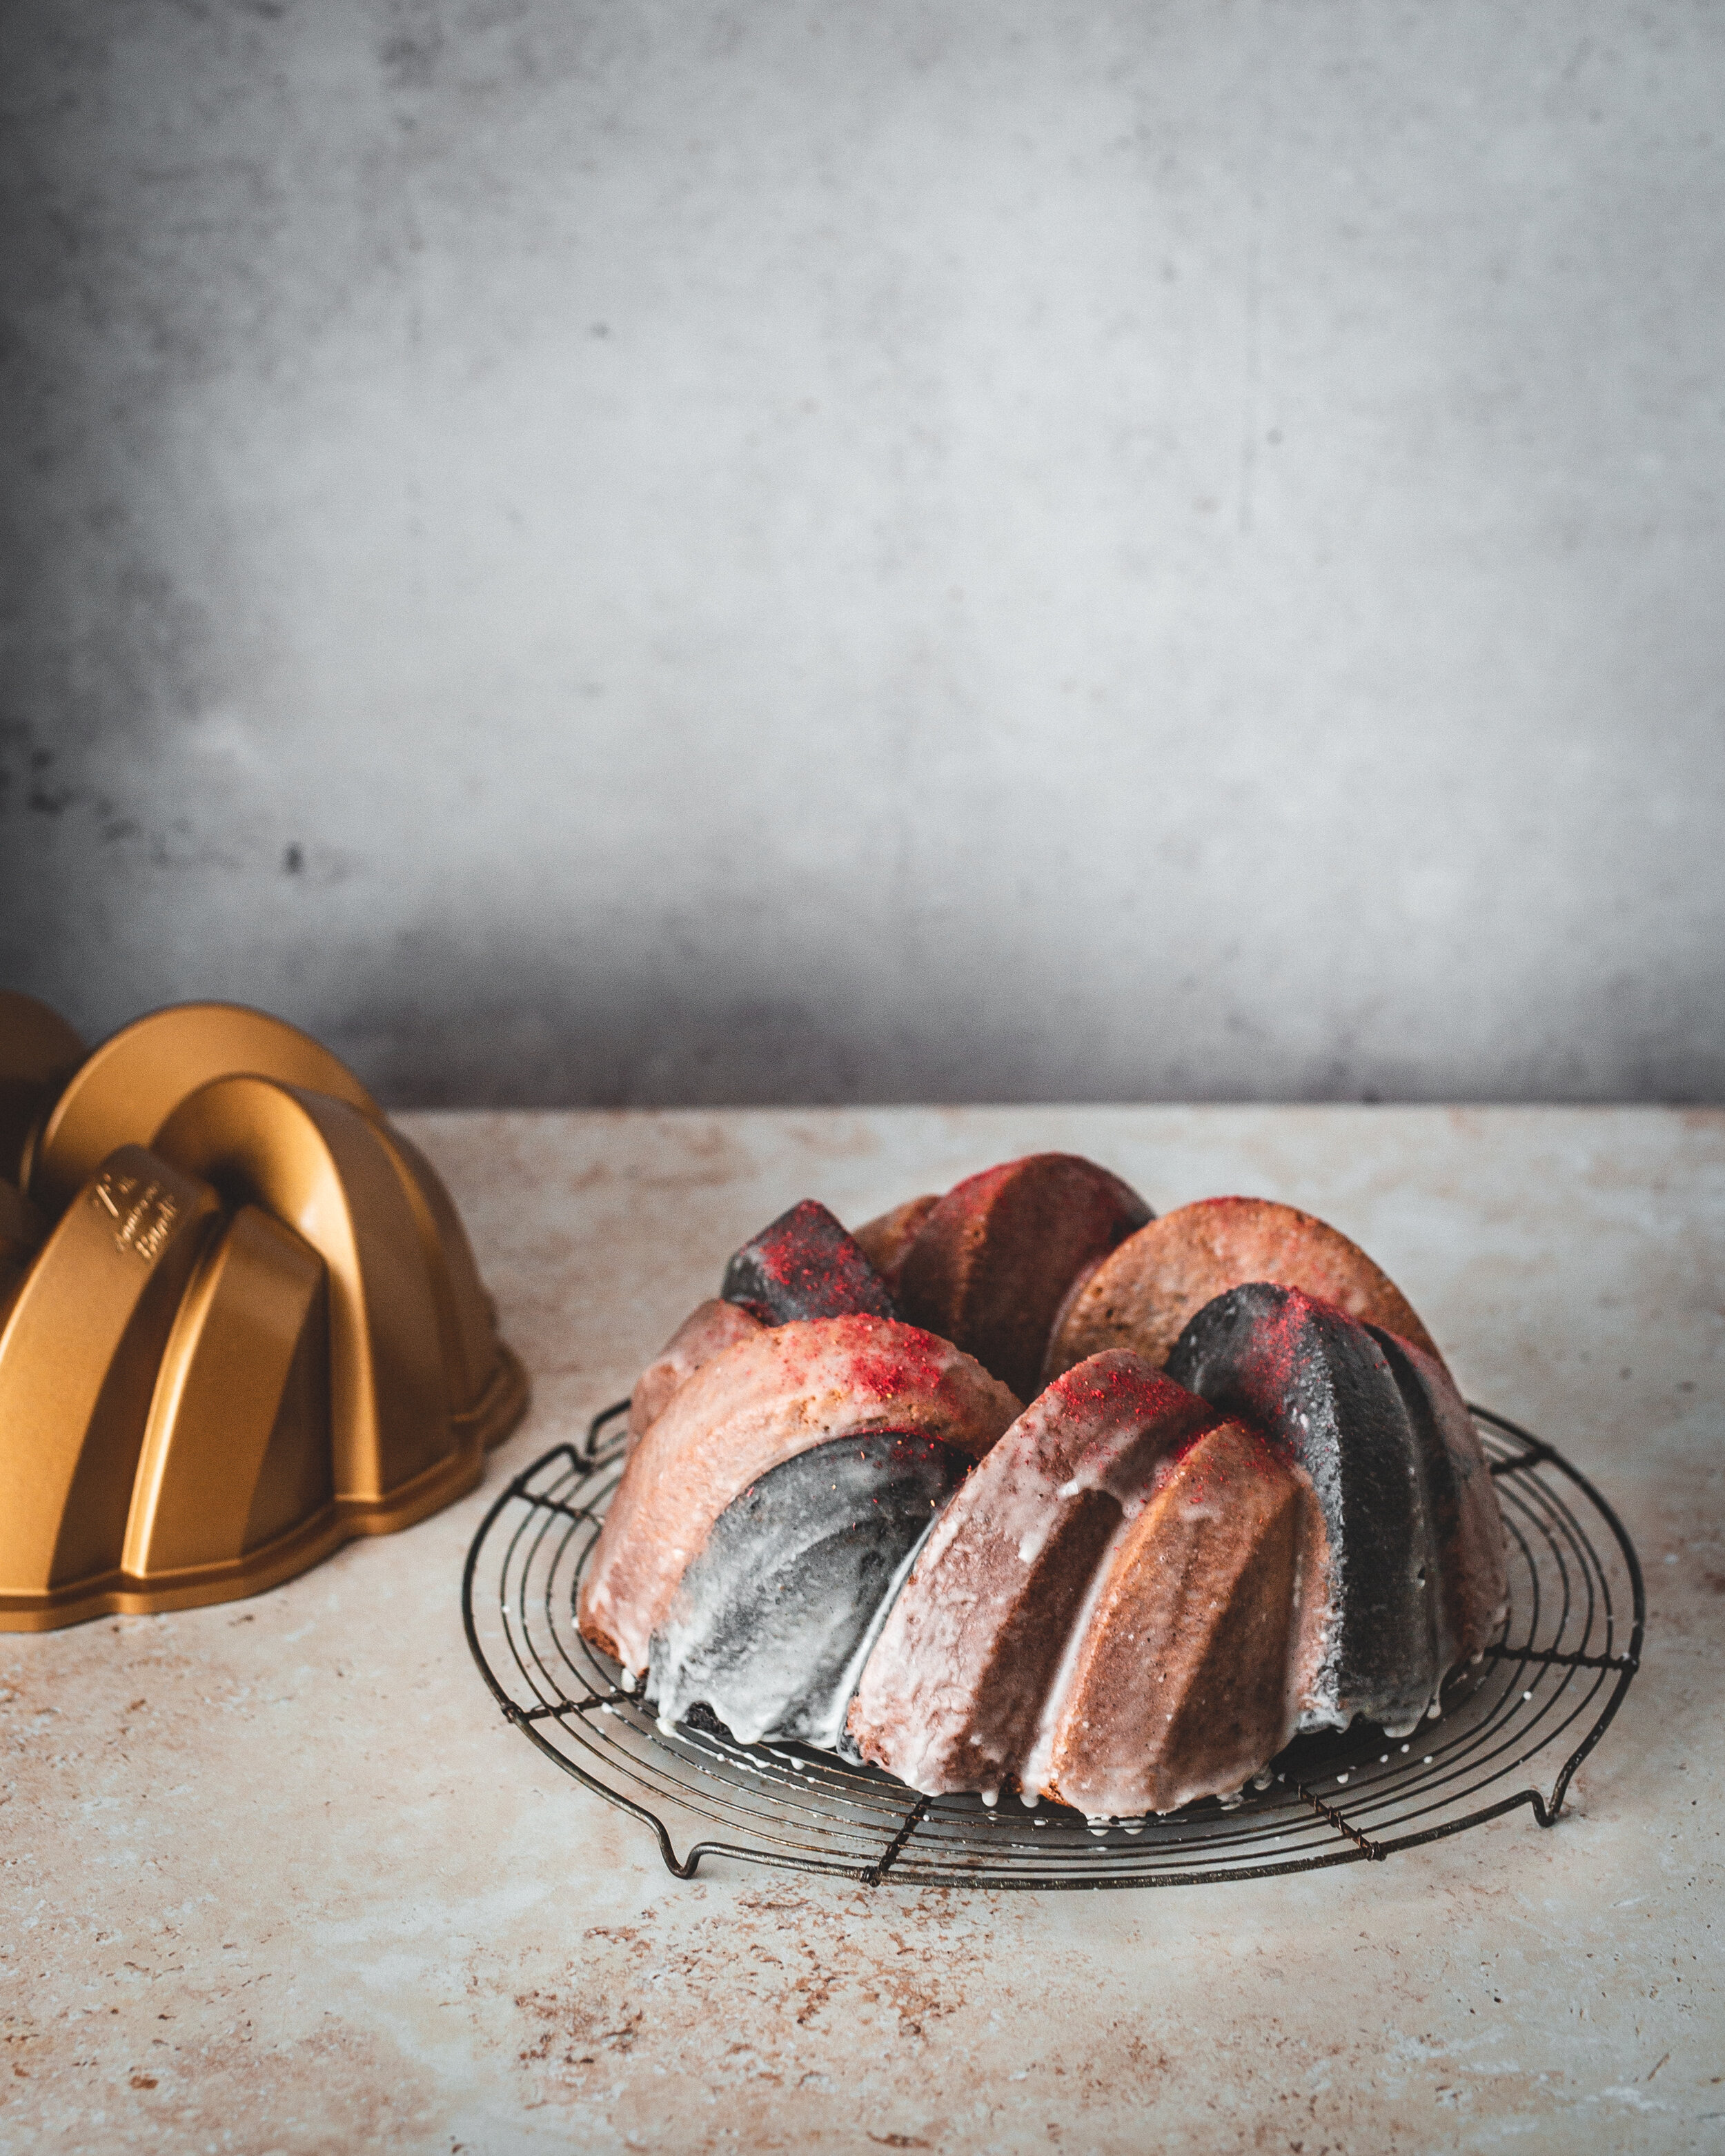
The anniversary Bundt® pan has very distinct sections so I carefully add a different batter to each section so that when the cake is turned out it has a distinctive design. Inside the cake something special happens. Whilst the outside stays distinct in its separation of colours inside the batters naturally swirl together giving a classic marble cake look without any actual swirling. To give the cake a little sparkle, a little finishing touch, the cake is brushed with a thin icing sugar glaze, that gives it an almost doughnut like glaze, thin and translucent and which shatters as it is cut through.
If you are in the UK the 75th Anniversary Bundt® Pan is available here
Neapolitan Marble Bundt Cake
Serves 15
Base Batter
340g unsalted butter, room temperature
450g caster sugar
6 large eggs
2 tsp vanilla extract
Chocolate Batter
85g plain flour
50g cocoa powder
1 tsp baking powder
1/2 tsp fine sea salt
40ml sour cream
White Chocolate and Raspberry Batter
250g plain flour
2 tsp baking powder
1 tsp fine sea salt
80ml sour cream
75g white chocolate, finely chopped
3 tbsp freeze dried raspberry powder
A little red gel food colouring
Prepare your bundt pan, brushing with a thin layer of cake goop, or brushing with softened butter and dusting with a thin layer of flour (read my guide on ensuring your bundt cake doesn’t stick here)
Place the white chocolate into a heatproof bowl and set over a pan of simmering water and heat, stirring occasionally, until fully melted. Remove from the heat and set aside whilst you prepare the cake.
Place the butter and sugar into a large bowl and using an electric mixer beat on medium speed for about 5 minutes or until light and fluffy. Add in the eggs one at a time, beating until fully combined before adding another. Finish by briefly mixing in the vanilla.
Scrape one third of the batter into a separate bowl (top tip: weigh the bowl you want to make the batter in before you start. This way you can simply weigh the bowl with the batter, deduct the bowl weight and then can easily find the weight of the batter). To this third add the ingredients for the chocolate batter, mixing until a smooth cake batter is formed. Into the remaining two thirds add everything for the white chocolate and raspberry batters, except the melted chocolate, raspberry powder and food colouring, mixing to form a smooth cake batter. Take this batter and divide again into two equal portions. To one mix through the melted chocolate and to the other mix in the raspberry powder and a little food colouring to make a vibrant pink.
To portion the batter into the tin you have two choices, you can spoon the batters into the tin trying to keep each batter neatly inside each section of the tin, alternating the colours as you go, or if you want the neatest possible finish, you can use piping bags. Whichever method you choose add the batter in slowly, little by little, gradually increasing the height, which will help ensure a clean design on the outside of the cake. You can of course simply dollop in the batter in a random fashion if you want to keep things simple.
Before you bake the cake give the pan a couple sharp taps on the worksurface so that the batter fills every nook and cranny of the pan. Pop the cake into the oven for about 55 minutes or until a skewer inserted into the cake comes out clean. Remove the pan from the oven and set onto a wire rack to cool for 10 minutes before inverting the cake and allowing it to cool fully. If you are opting to make the vanilla glaze make this before turning the cake out and use as soon as the cake has been removed from the pan whilst still hot.
Serve once fully cooled. The finished cake will keep for 2-3 days if kept well covered.
Vanilla Glaze
150g icing sugar
2 + 1/2 tbsp milk
1 tsp vanilla bean paste
Small pinch of salt.
Add the icing sugar, 2 tbsp of milk, the vanilla and salt to a small bowl and mix together to make a smooth glaze. The finished texture wants to be on the thin side and fairly runny, you may need to add another 1/2 tbsp of milk to get to this texture.
Whilst the cake is still hot from the oven use a pastry brush to coat the cake in the glaze. I add the glaze now as the heat from the cake makes the glaze set and turn slightly translucent almost like the glaze on a classic ring doughnut.


