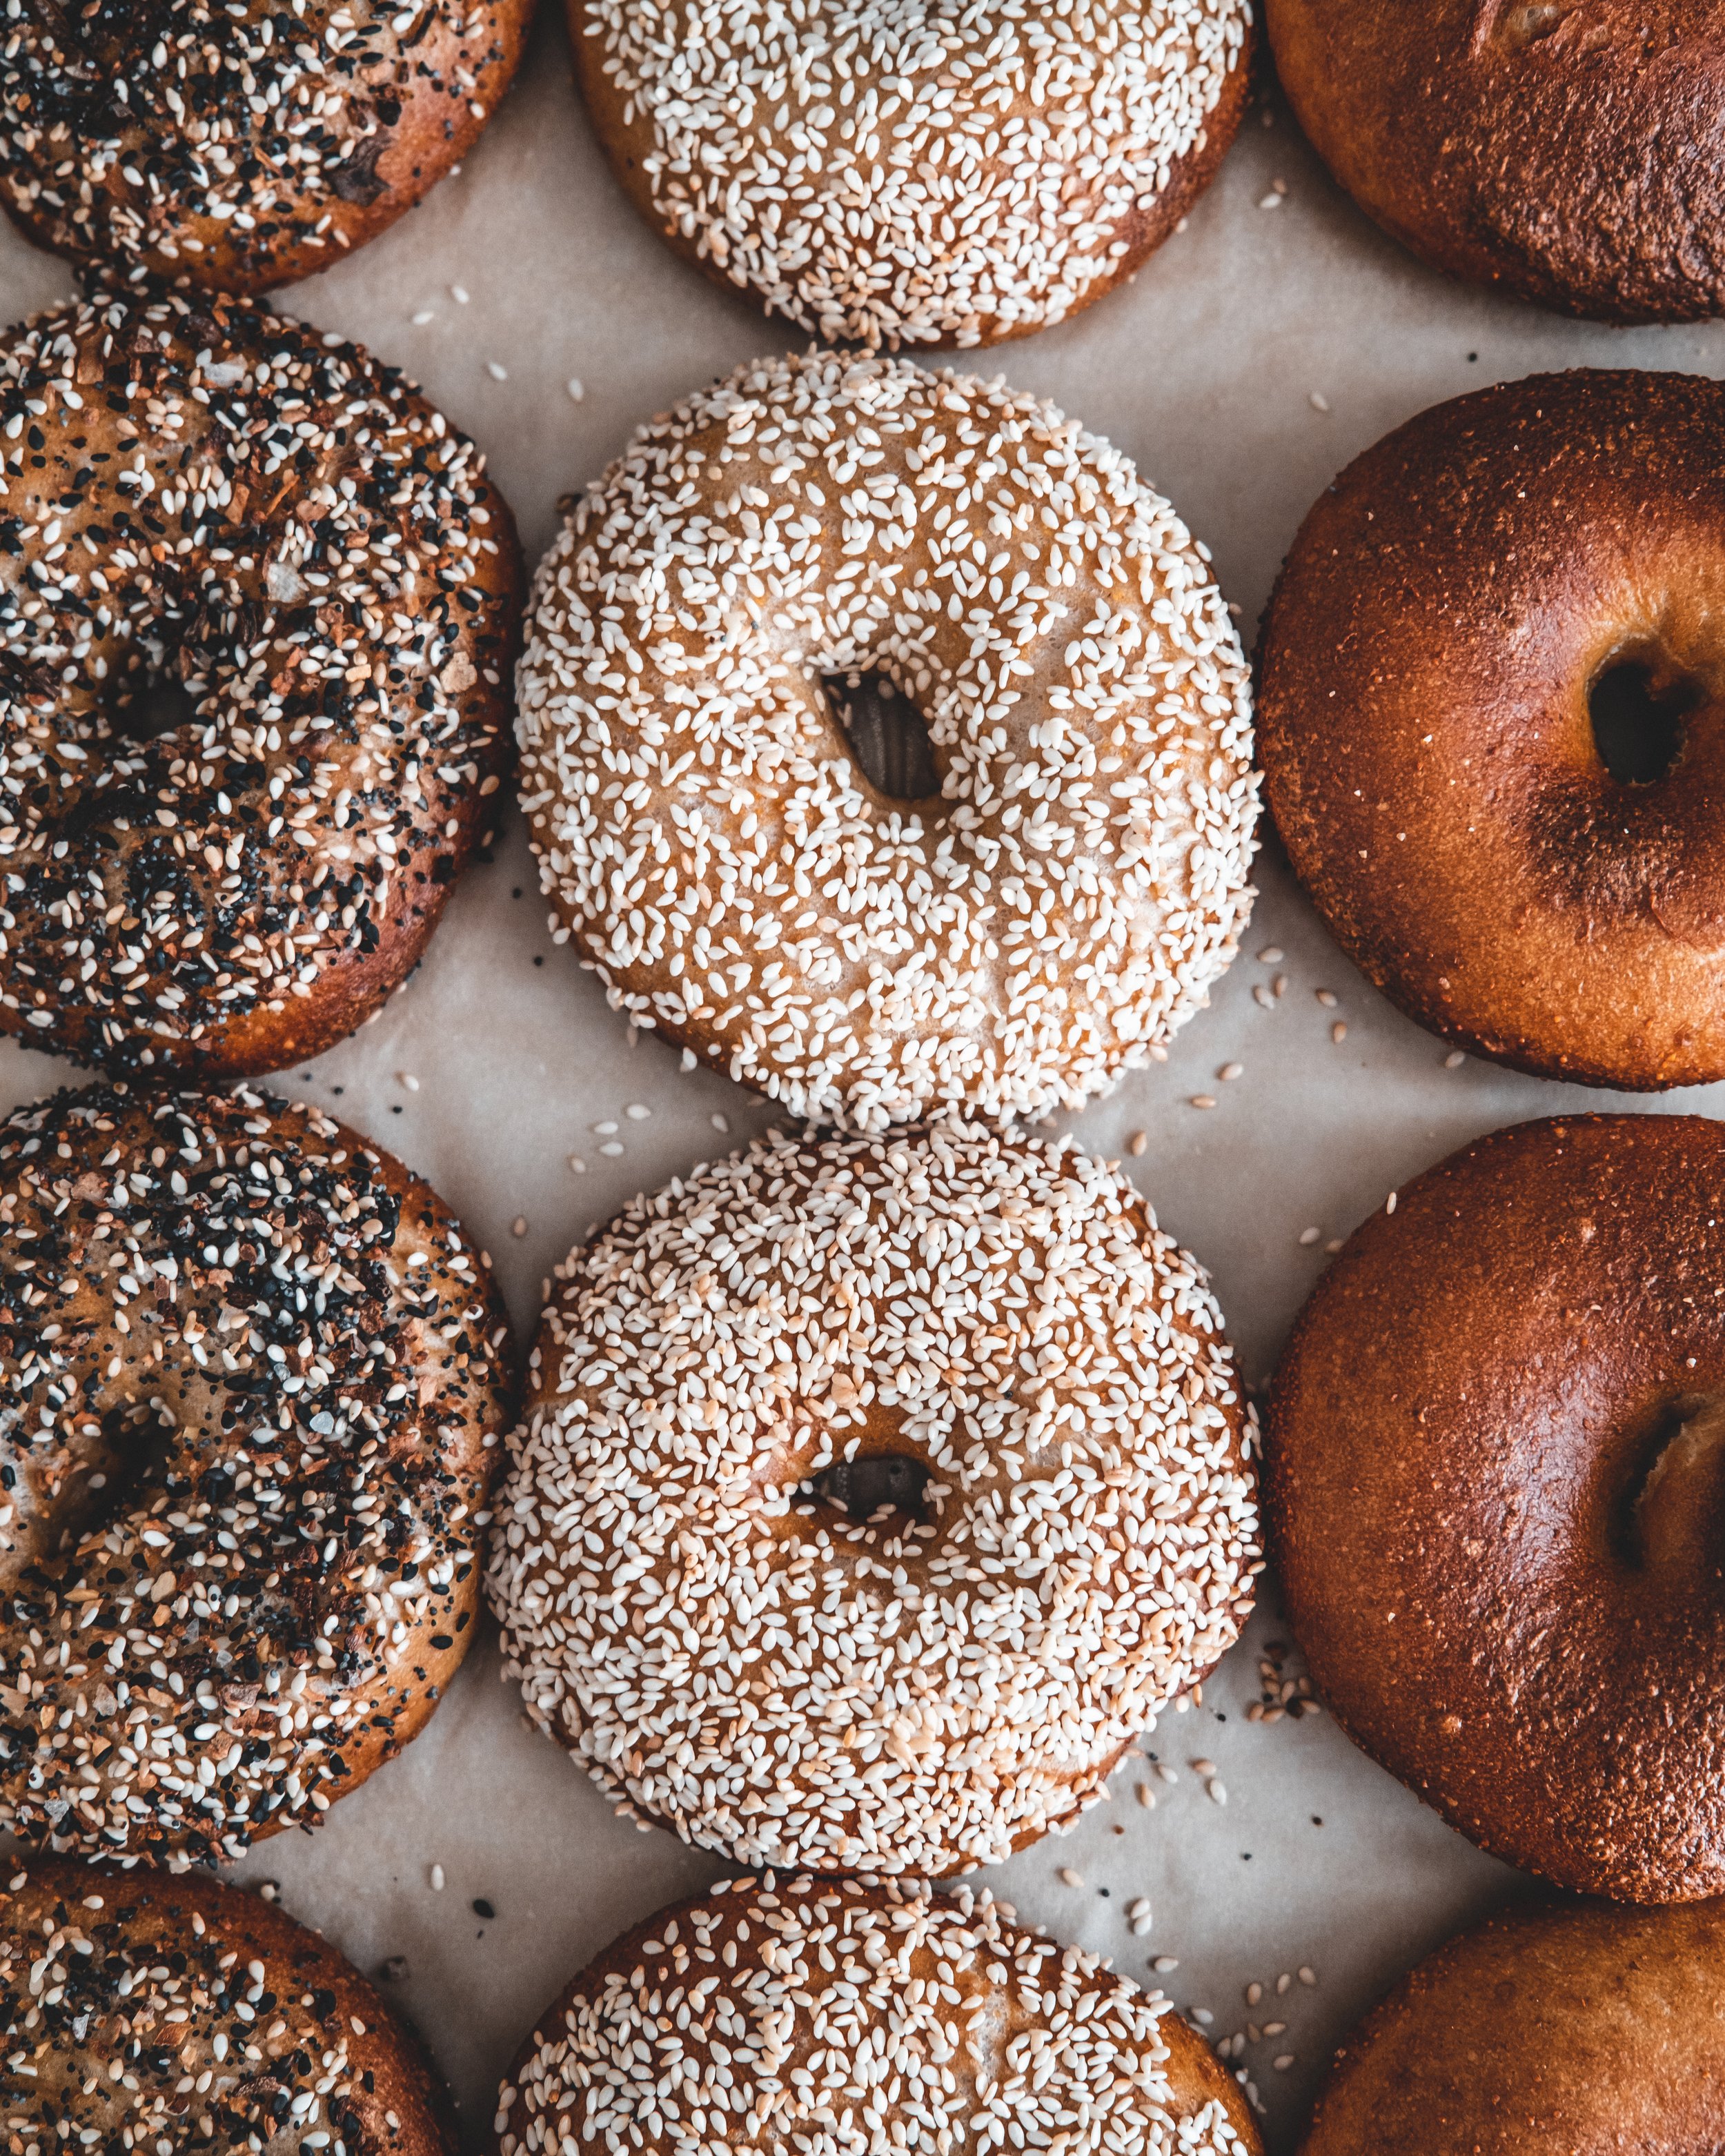
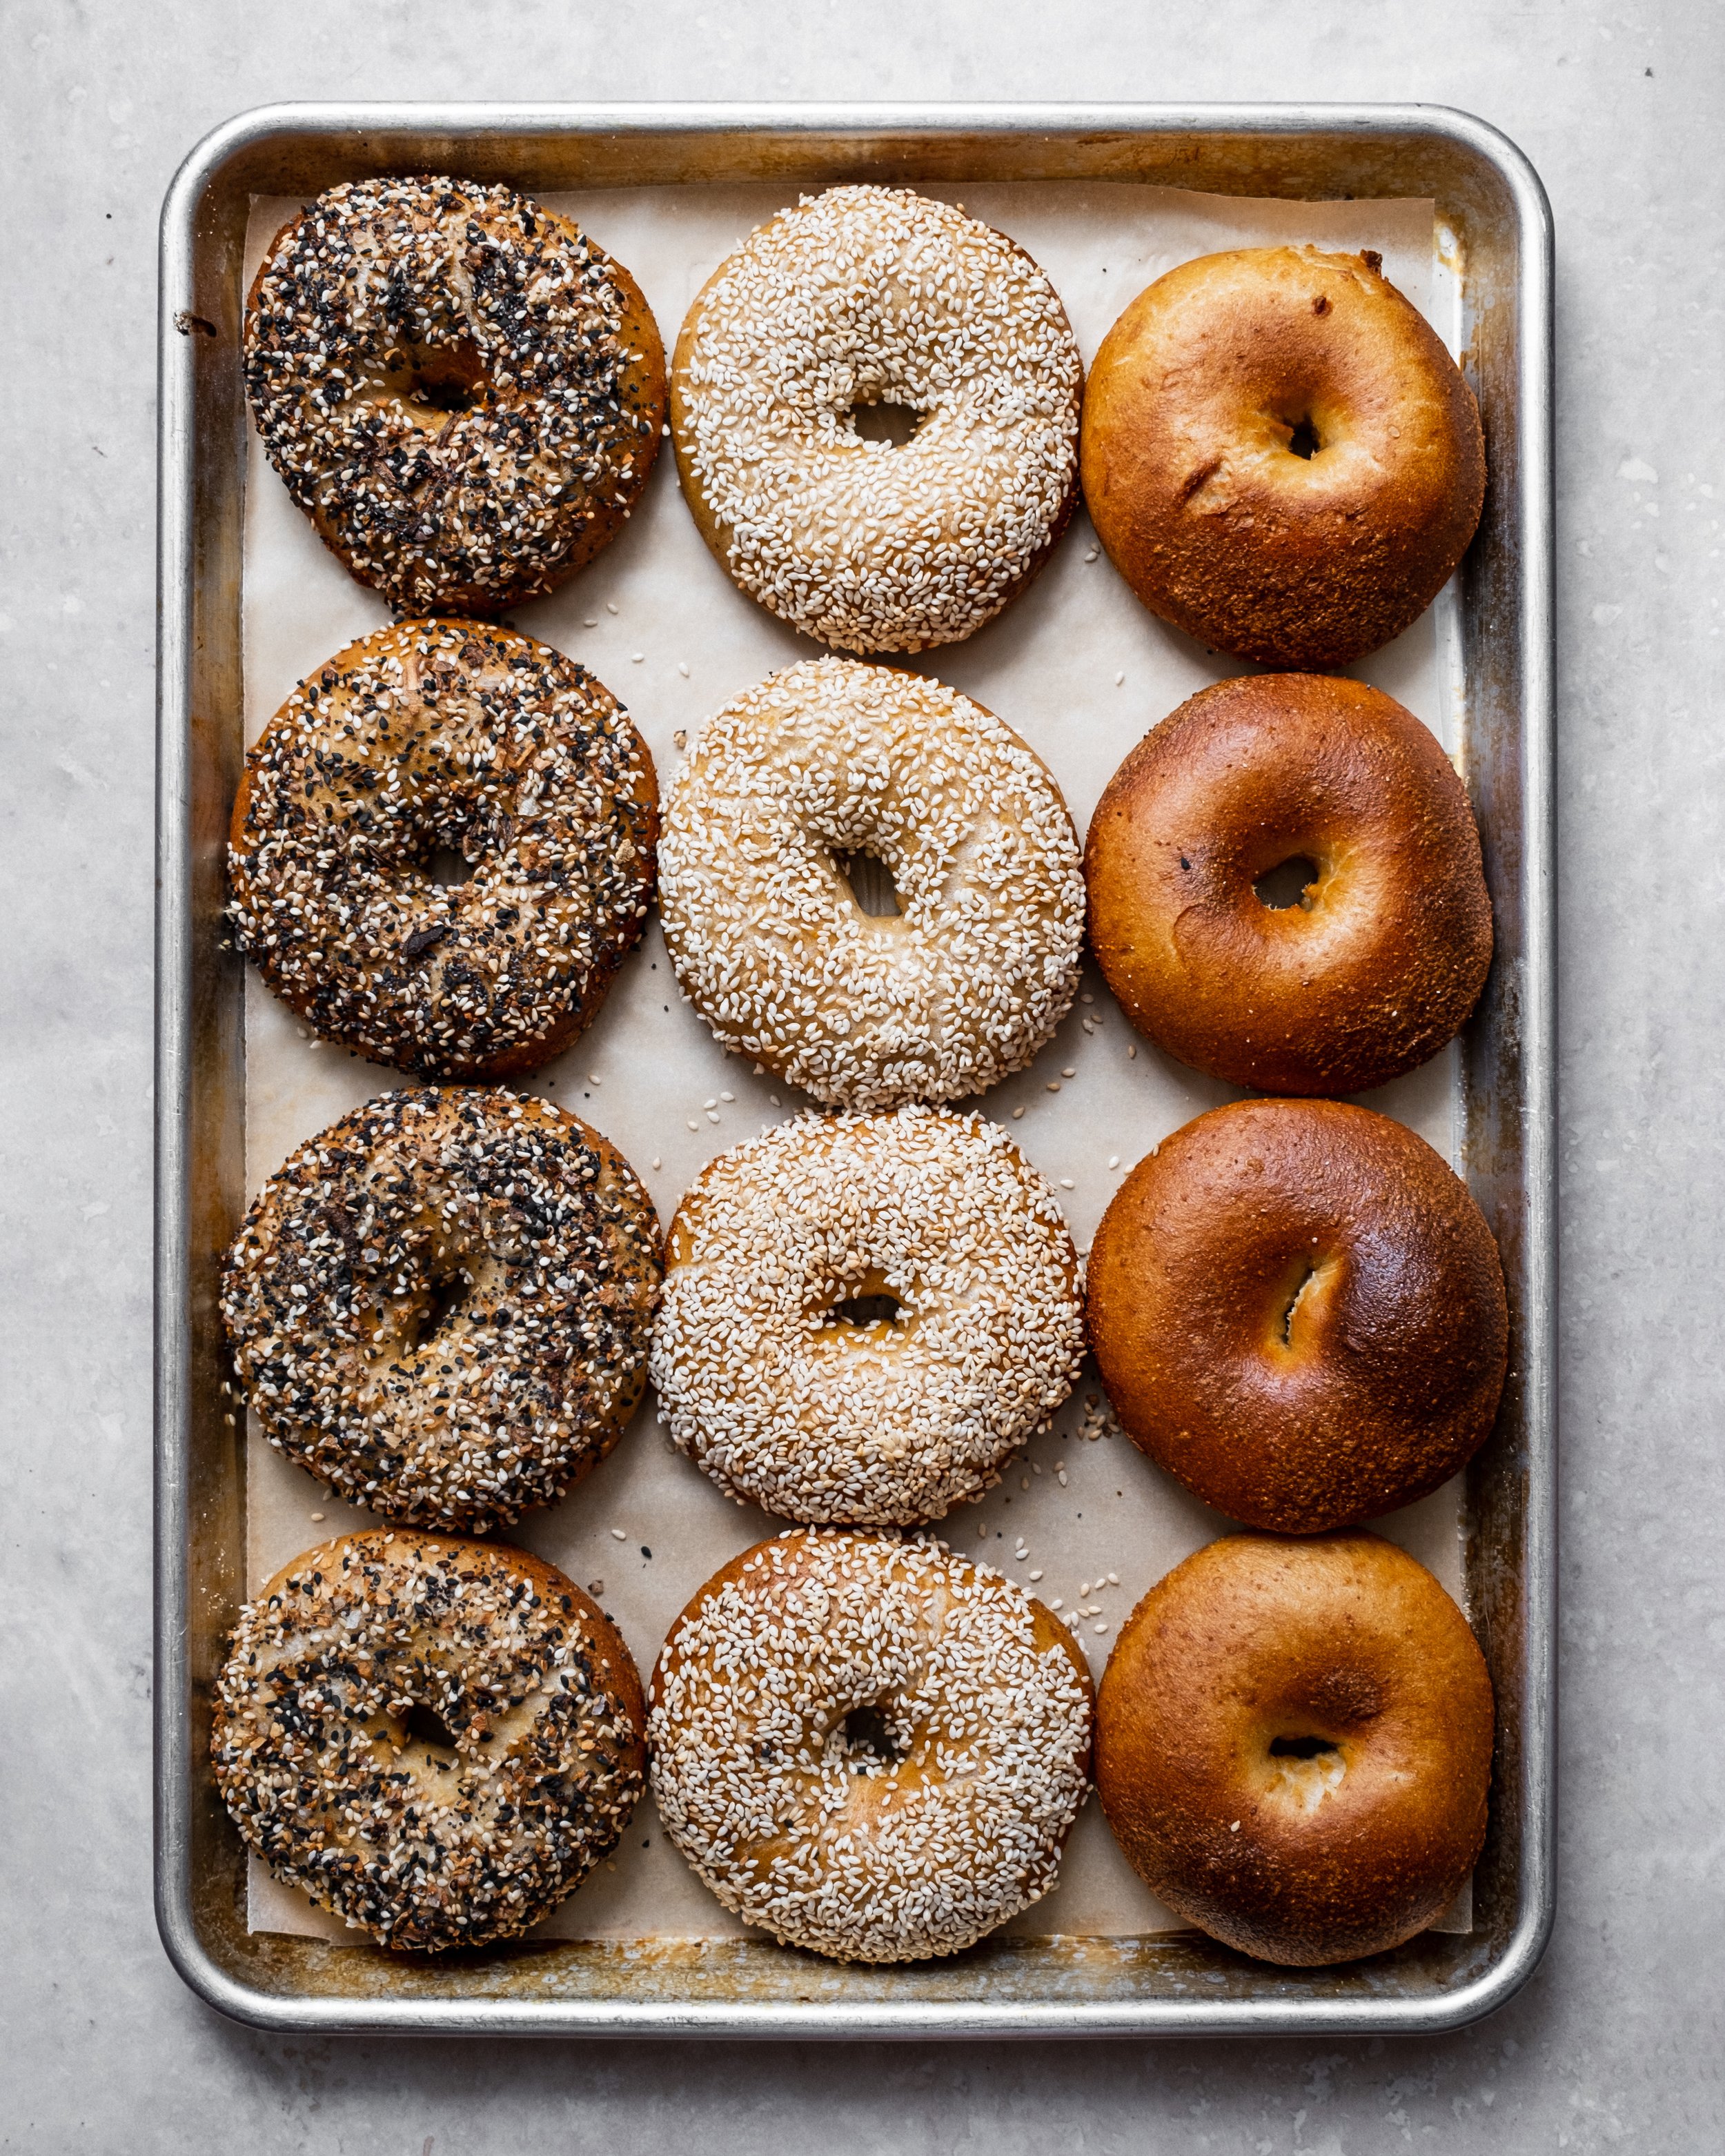
I love making bread for many reasons, its meditative, its relaxing and it’s fun. But of course the main reason I enjoy it, is the eating. There are few things better than a slice of freshly baked homemade bread. Whether its sourdough or yeasted, a country loaf or brioche buns, homemade bread whilst still just a little warm is so gratifying and so utterly delightful. One of my favourite breads to make is the New York style bagel. Boiled and baked they have a great chewy texture and a wonderful flavour. You can find my yeasted recipe here but today we are talking about sourdough bagels.
To work on this recipe I tested multiple batches of bagels and a few different methods of making them. Initially I worked on simply switching out the yeast in my old recipe for sourdough starter. I bulk fermented the dough then knocked it back and formed the dough into bagels before retarding them overnight in the fridge. Even though this worked great with my yeasted bagels for some reason it simply didn’t work with sourdough. The method I settled on was basically the same just switching up when we retard the dough. I made the dough, let it proof for a couple hours then transferred it to the fridge and retarded it overnight. In the morning I divided the dough formed it into bagels and proofed it for about an hour before boiling and baking.
Three big bits of advice before we get to the recipe. First thing you should know when making this recipe is that bagels require a very strong starter, if the starter is sluggish the bagels wont rise properly and can end up flat and too dense. The dough has a low hydration and the starter needs to work harder to proof the dough. The second thing is that the dough needs a lot of strength. To knead the dough you can use your mixer but be aware that this dough is going to put your mixer through the ringer, so much so that I would suggest if you have domestic stand mixer you may want to knead this by hand.
Sourdough New York Style Bagels
Makes 8
175g sourdough starter, recently doubled (or preferably tripled)
250g lukewarm water
1 tbsp barley malt syrup*
10g fine sea salt
500g strong white bread flour
To Boil
2 tbsp barley malt syrup
1 tbsp bicarbonate of soda
*barley malt syrup is a traditional flavouring in NY bagels but it isn’t commonly available from supermarkets. You’ll find it easily in health food stores or of course multiple places online. If you don’t want to buy the syrup you can use honey but the flavour wont be the same.
To make the dough place the starter into a large bowl and pour over the water and malt syrup and whisk together, breaking it up and dissolving the starter slightly. Add the salt and whisk in briefly. Add the flour and mix together to form a shaggy mass. Turn out and knead on the worksurface for around 12-15 minutes or until smooth and elastic. This dough is pretty dense and kneading it is a workout but persevere, the dough needs a lot of gluten development and you’ll be rewarded with a batch of wonderful bagels.
Form the dough into a ball and place into a lightly oiled bowl, turning to coat evenly in the oil. Cover the bowl and set aside for an hour, before transferring to the fridge overnight or up to 24 hours.
Remove the dough from the bowl and cut into 8 equal sized pieces. Form each piece into a ball, making sure the shaping creates a nice taught surface. Cover and set aside for 10 minutes. To form the dough into bagels you can either roll each ball into a rope and squish the ends together, rolling on the join to seal. The method I use most of the time is the poke-a-hole method. Place a ball of dough on the worksurface and press your finger into the middle of the dough, wiggling a little until you’ve pushed all the way through and can feel the worksurface. Spin the bagel around your finger a little to open up the hole then use your fingers to tease it wider. Make the hole a little wider than you think because it will spring back a little as you shape the remaining bagels and when the bagels bake the hole naturally gets smaller.
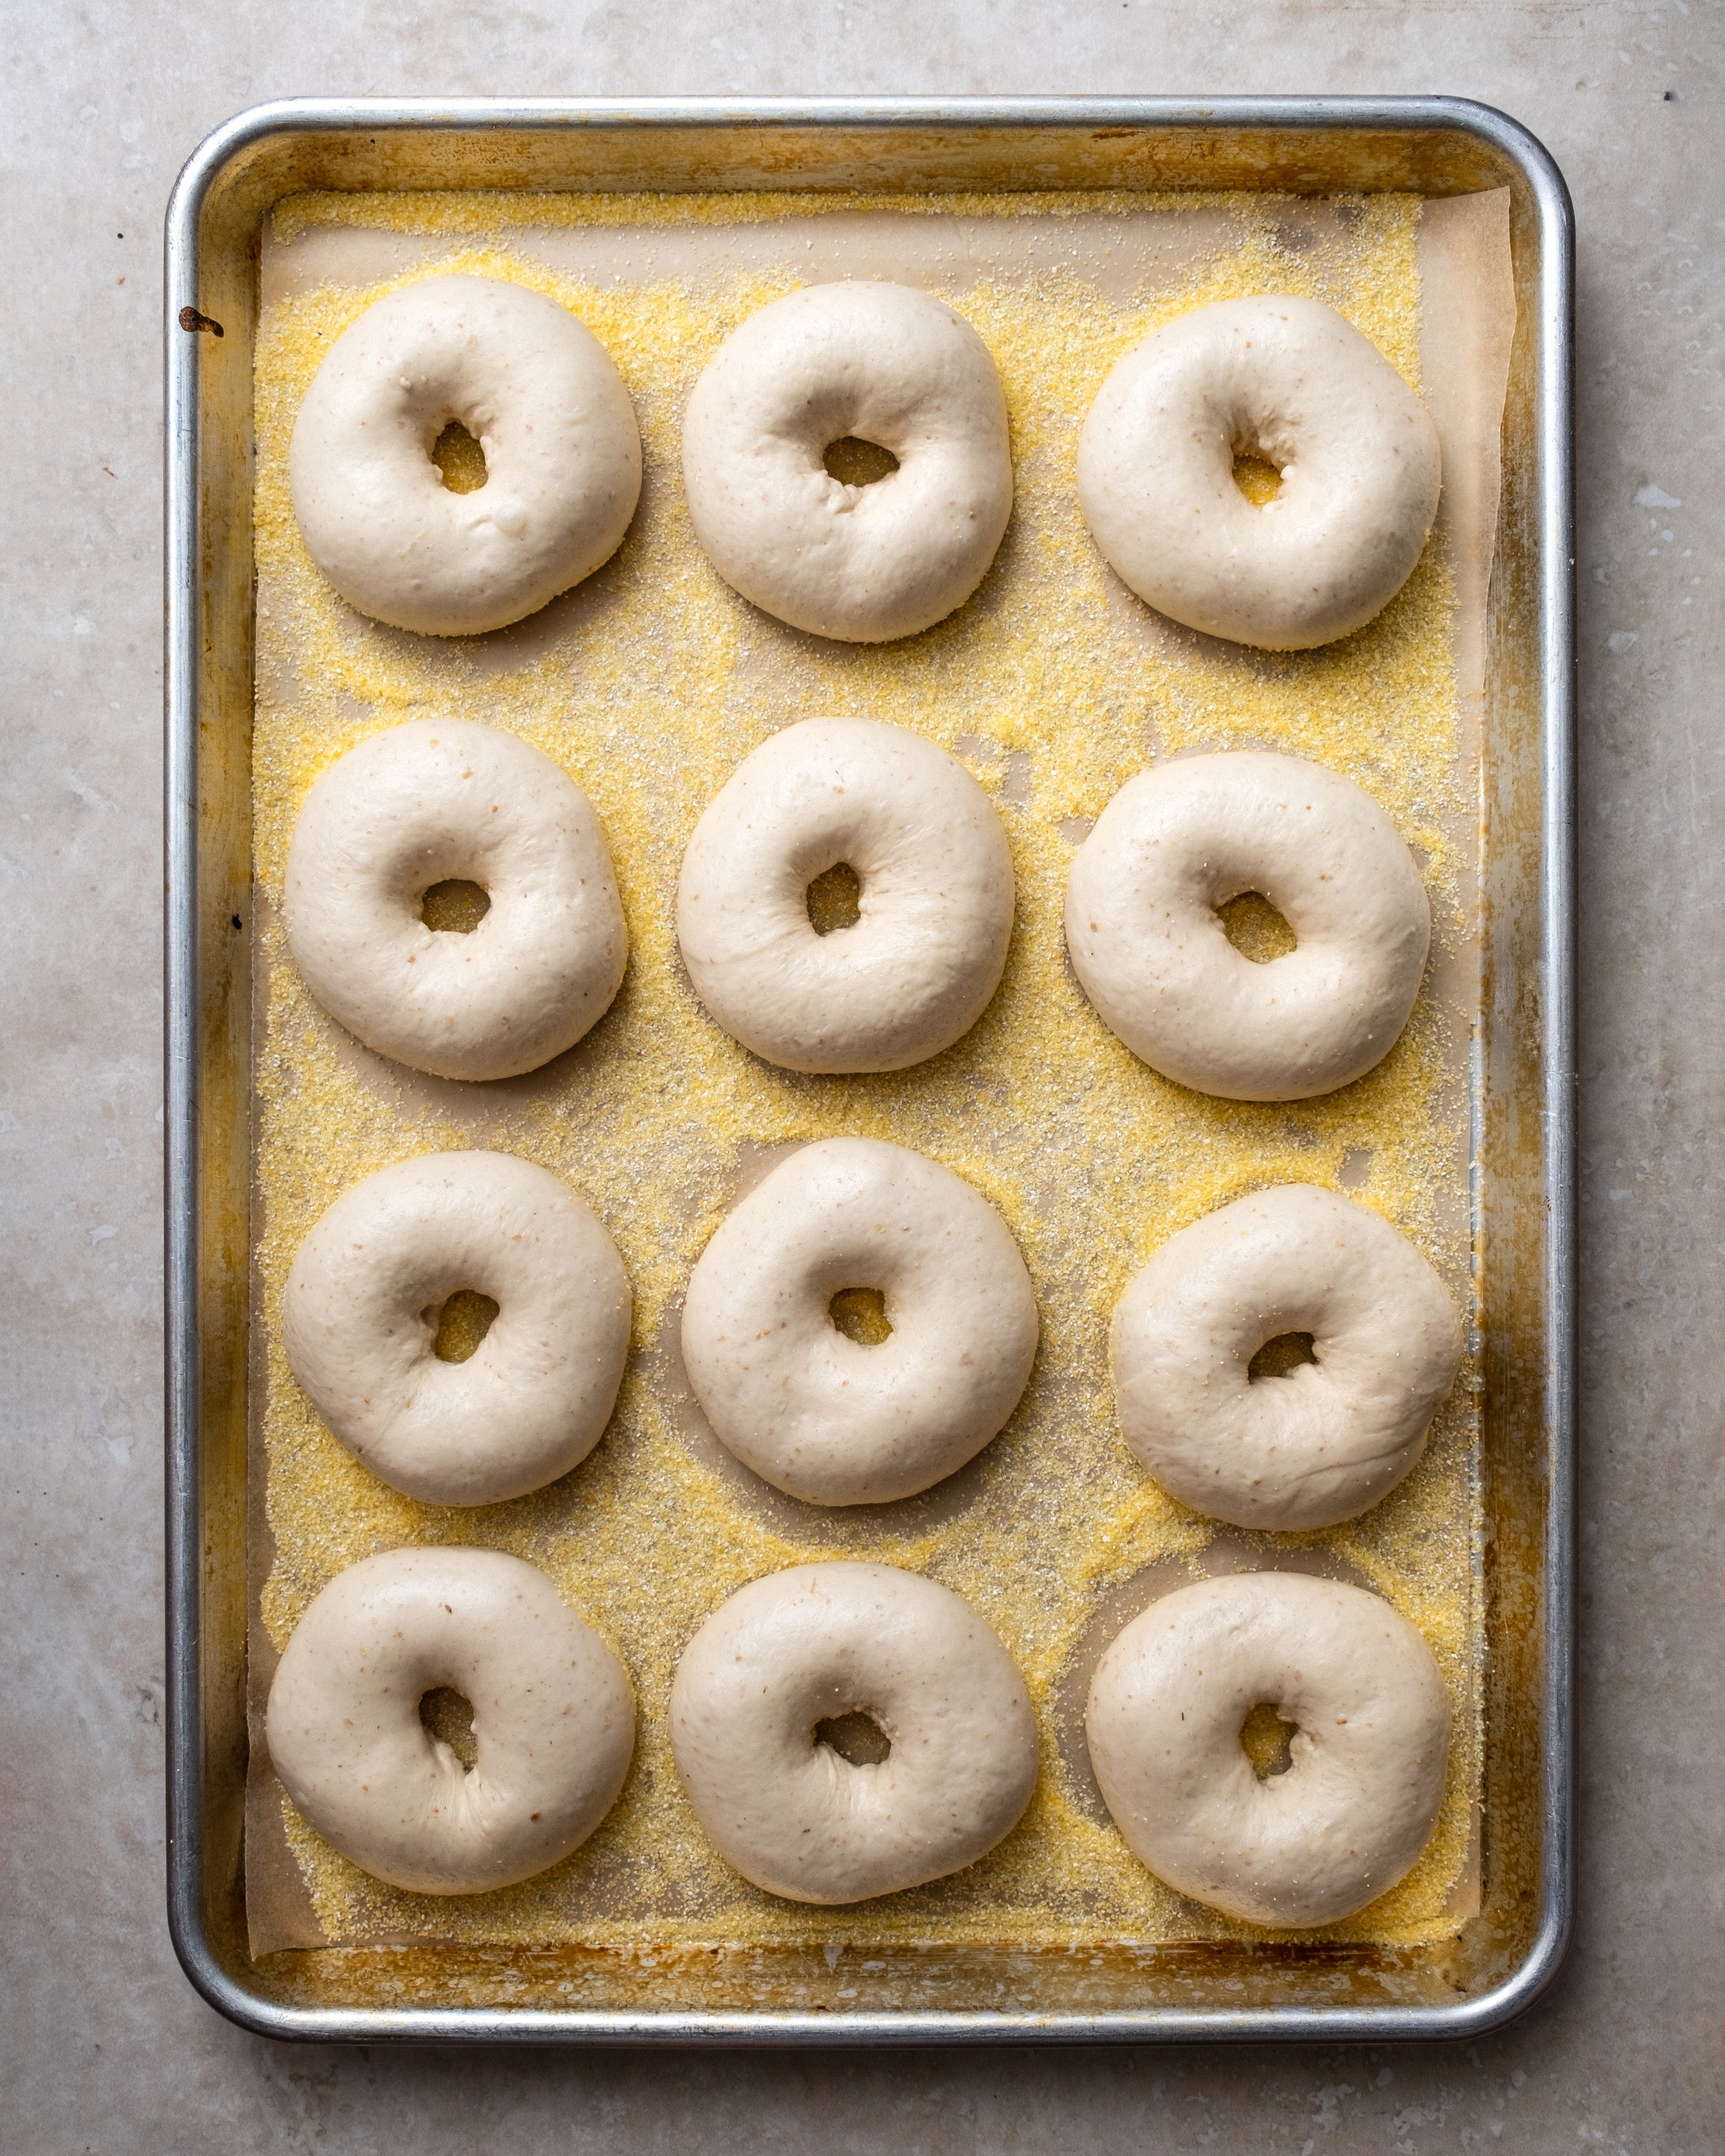
Place the shaped bagels onto a parchment lined baking tray that has been sprinkled with a thin layer of cornmeal, this helps prevent the bagels from sticking and makes then easier to manoeuvre later on. Cover the bagels and set aside for around an hour. The bagels won’t double in size you looking for them to looked a little puffed up.
A little before your bagels are ready for boiling and baking preheat the oven to 240ºC (220ºC). Line two baking sheets with parchment paper and prepare plates/bowls with any toppings you are planning on using. Fill a large saucepan with water and bring to a gentle boil. Add the malt syrup and bicarbonate of soda (it will foam up a lot but after a couple minutes will settle down).
If you want to test the bagels are ready for boiling and baking you can do a float test. Place one of the bagels into the boiling water. If the bagel sinks but floats within 5-10 seconds they are ready to go. If they stay sunk for longer leave the remaining bagels for another half an hour or so to proof a little longer.
Add the bagels, 4 at a time, and boil for 30 seconds before flipping them and boiling for another 30 seconds. Lift from the water with a slotted spoon and transfer to the prepared baking trays. Repeat with the remaining bagels. After a minute or so, carefully lift the bagels and dunk them into your toppings, coating one side, before placing back onto the baking tray.
Bake the bagels for about 15 minutes or until golden brown. Remove and transfer the bagels to a wire rack to cool completely.
Bagels are best within a day or two of baking but they also freeze brilliantly for up to a month.


